


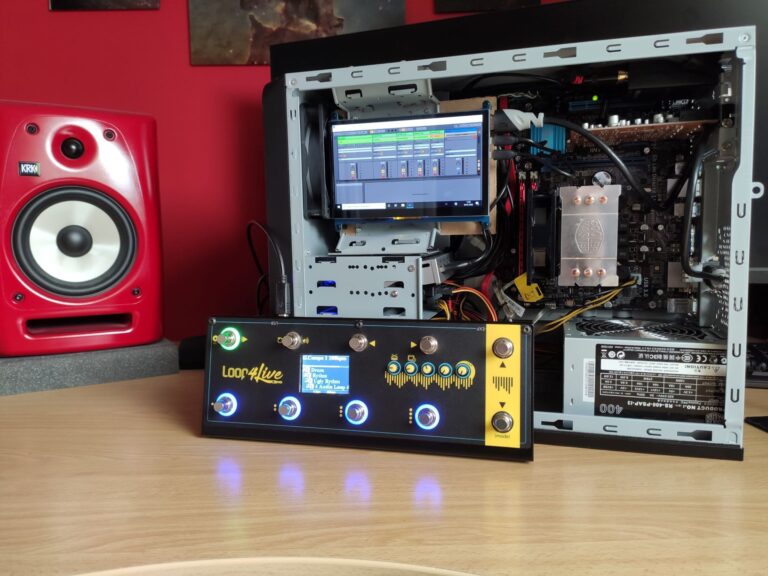
Do you want to simplify your setup during rehearsals and shows(less equipment, fewer connections)? It can be interesting to have a computer with an integrated multi-track sound card, with the advantage of being able to drag it in the trunk of a car without fear of shocks. We propose you a small tutorial to build a PC from an old computer tower to integrate a touch screen, an amplifier for headphones and a 4 outputs and 4 inputs sound card. To make it even better, the Ableton sets are synchronized via the google cloud: as soon as a modification is made by one of the members on another computer, it is then automatically updated on this computer.
The peripherals needed:
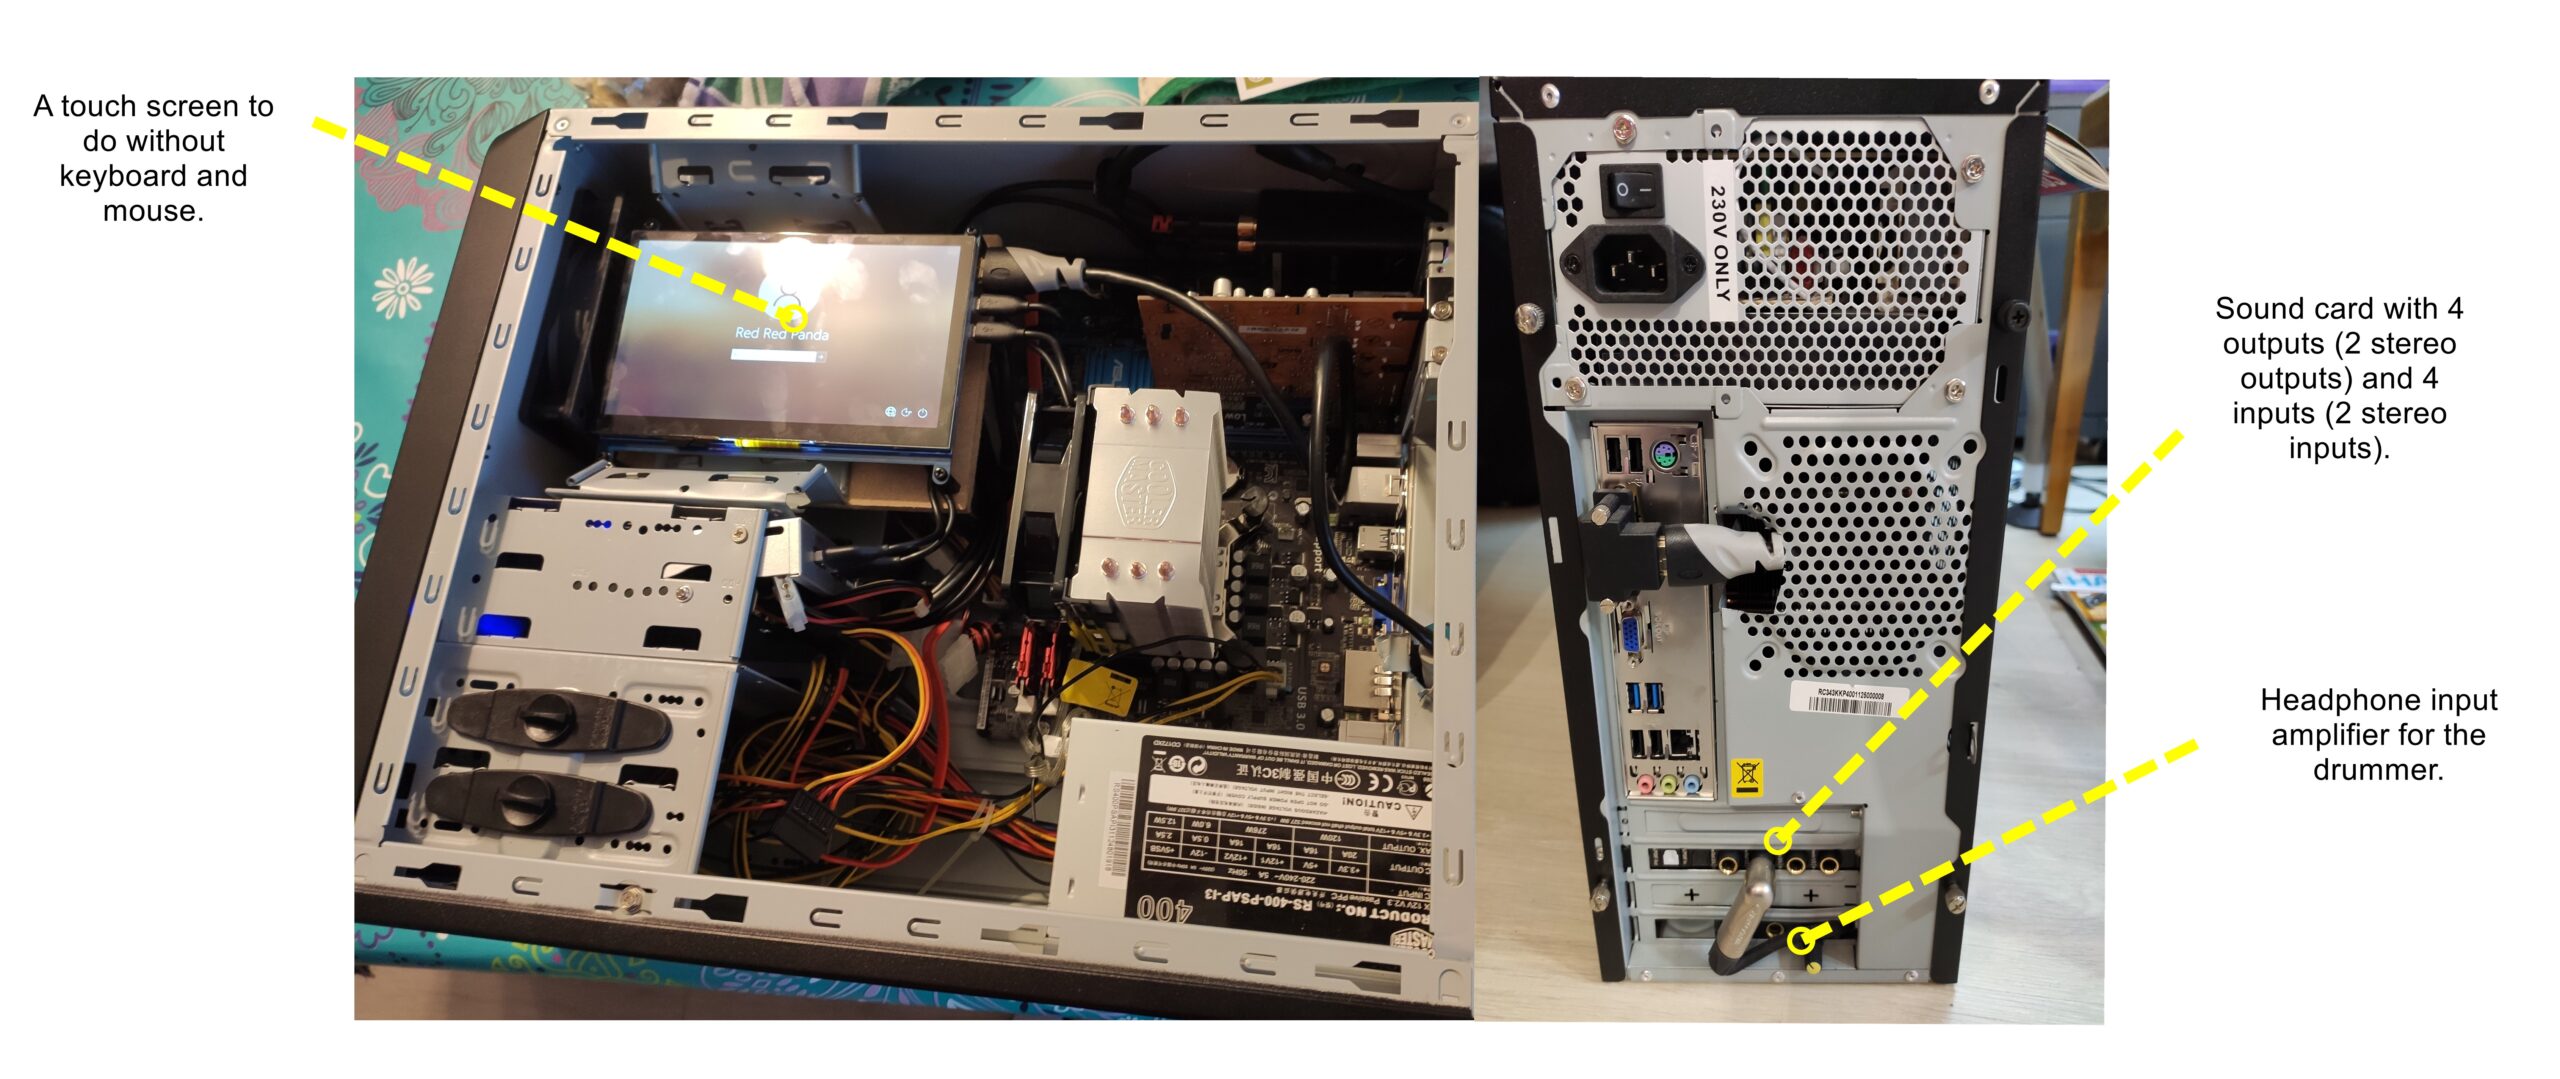
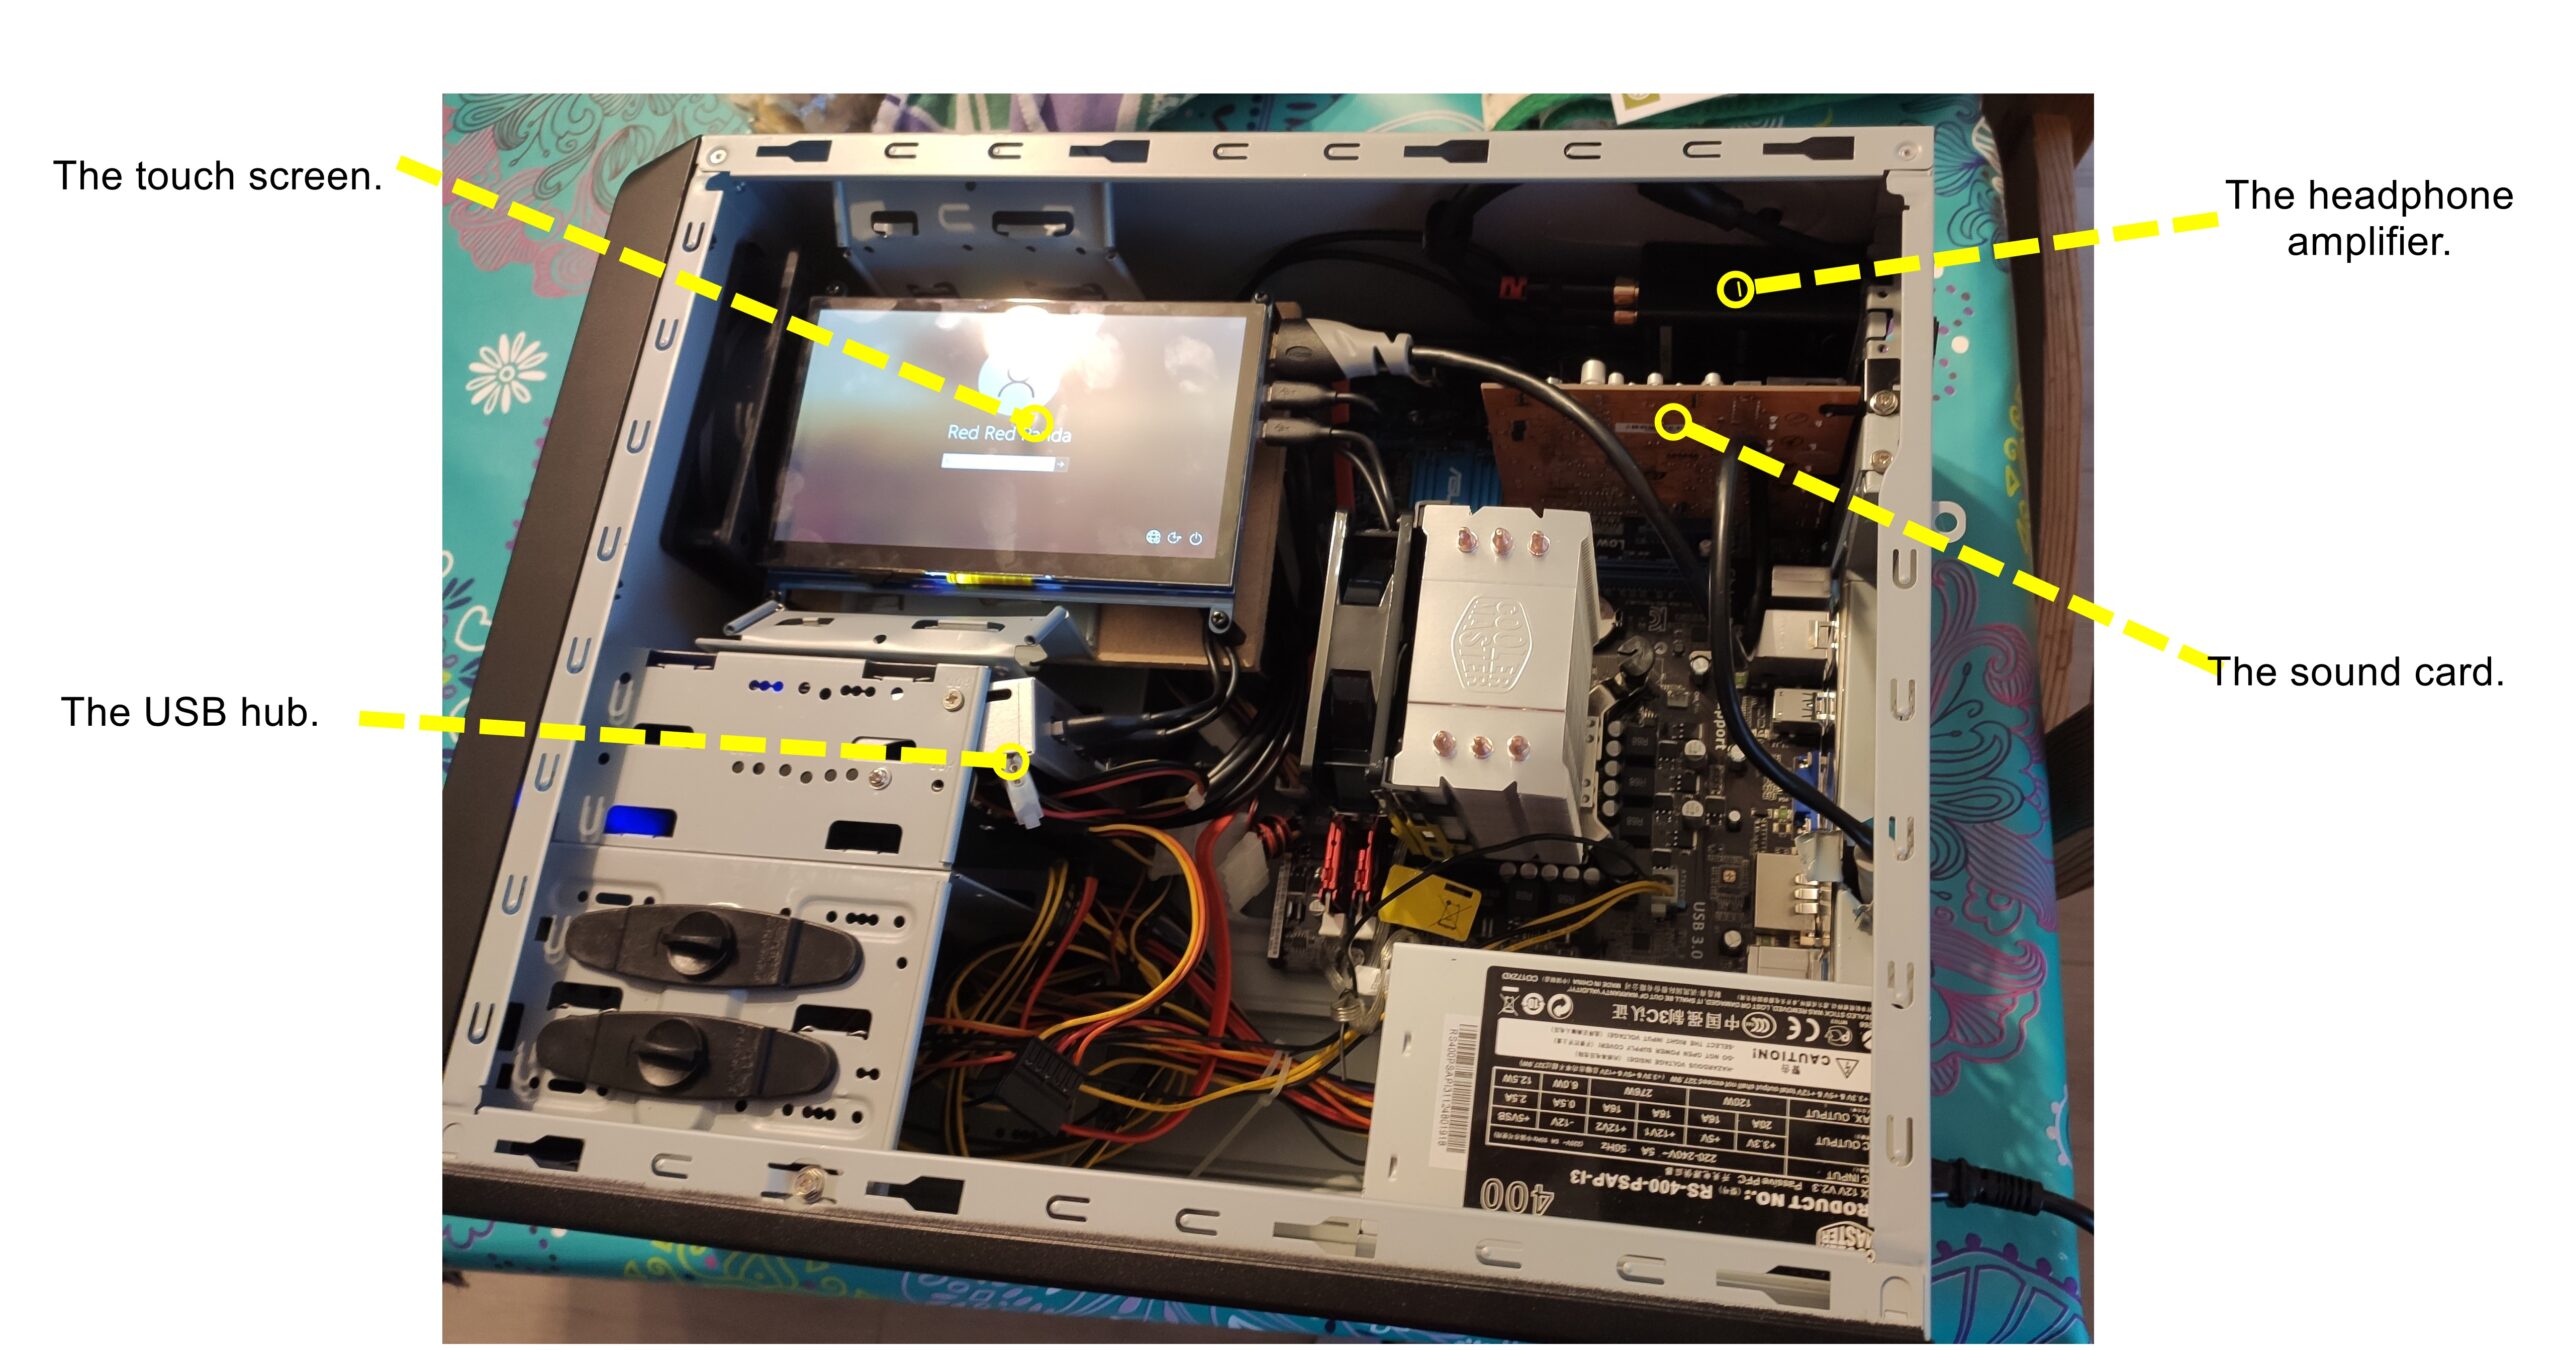
We assume that you have a functional tower with a motherboard, processors, RAM, power supply, etc. The goal is to add various peripherals, as listed below:
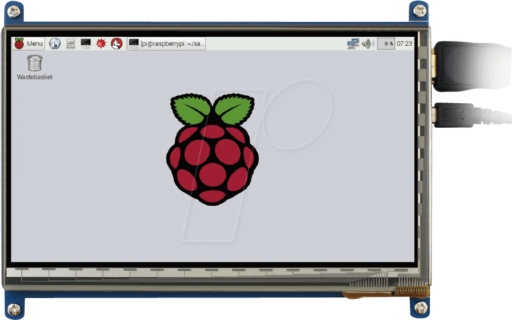
A 7 inch touch screen for raspberry pi.

An internal sound card, here an ESI MAYA44 eX.
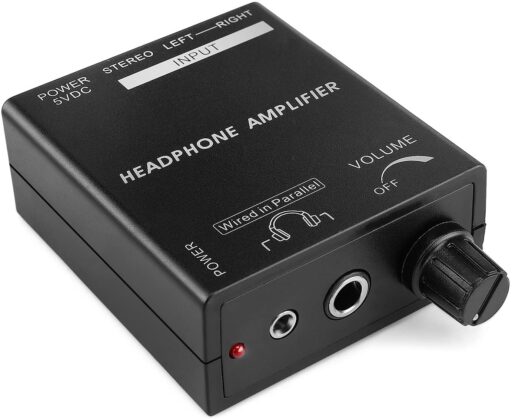
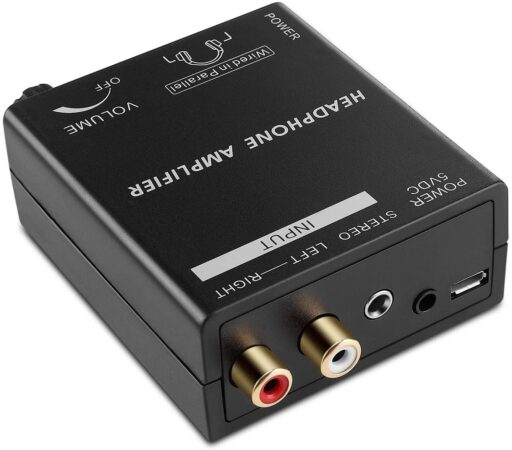
An USB powered headphone amplifier (front and rear view).
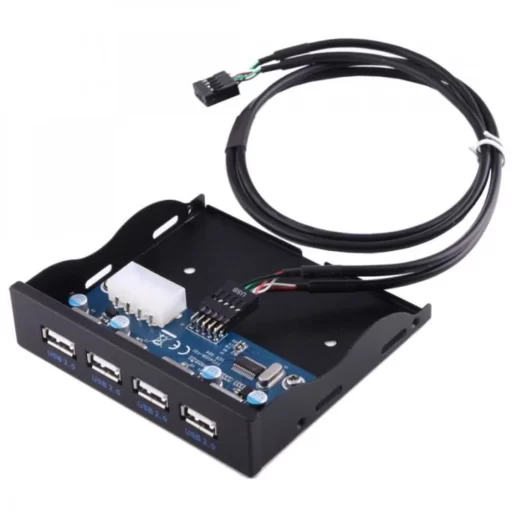
An USB hub to power the touch screen and the headphone amplifier.
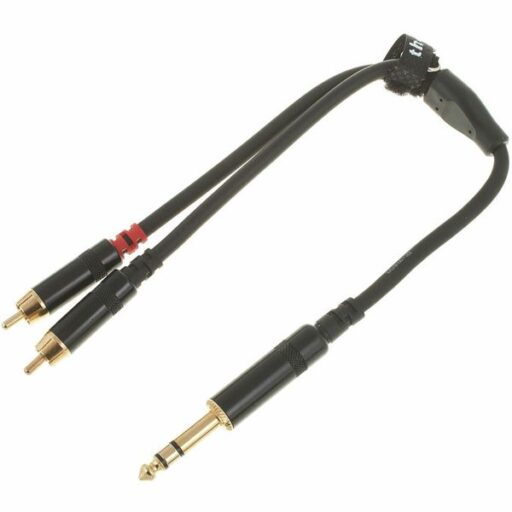
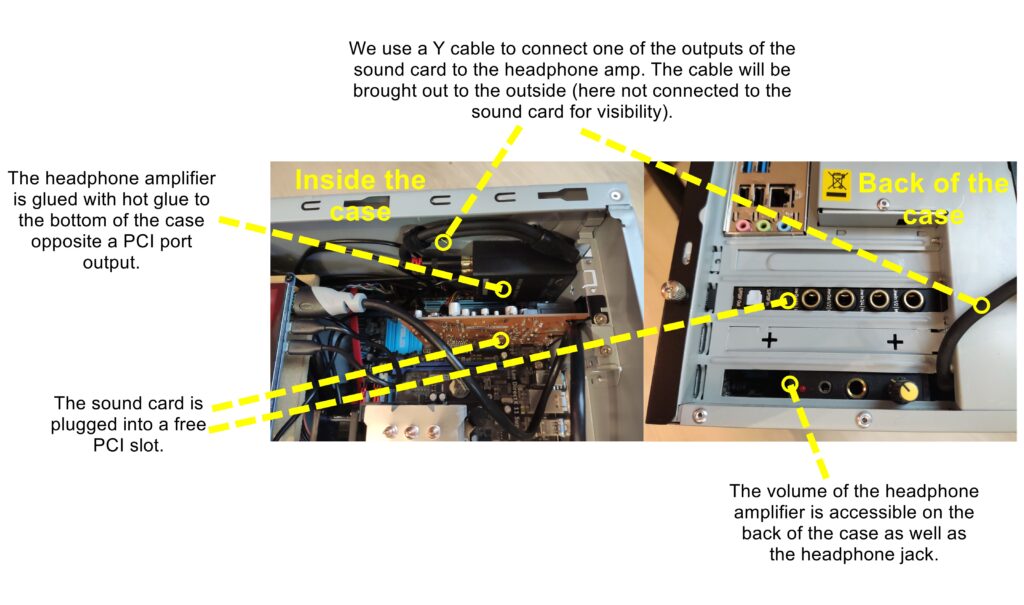
- A Y-cable to connect one of the sound card’s outputs to the headphone amplifier.
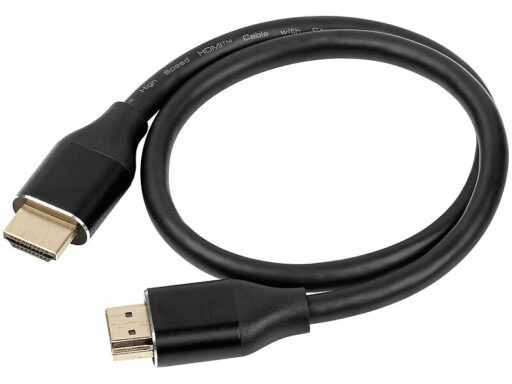
- An HDMI cable to connect the computer to the touch screen for display.
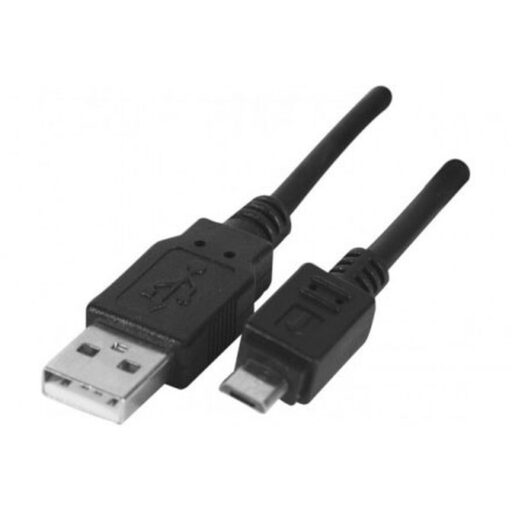
- 3 micro USB cables to connect the USB hub to the touch screen (2x) and the headphone amplifier.
Assembly:
We can now assemble these various elements in the case:
The sound card and the headphone amplifier:
- For the assembly of the sound card: no difficulty, we use an available PCI slot.
- The headphone amplifier is positioned so that its output and the volume knob can be accessed from the rear via a PCI card slot.
USB Hub:
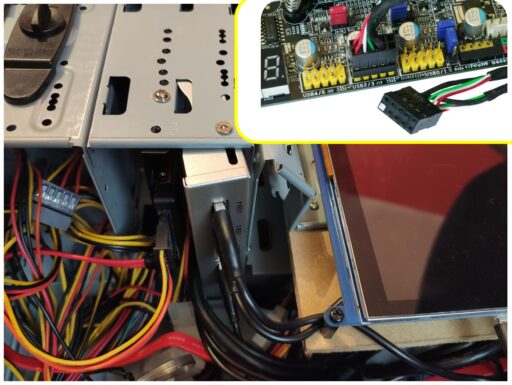
- The USB hub is installed in one of the 2.5″ racks, with the particularity of having these outputs towards the inside of the computer in order to be able to connect the different elements on it (screen and headphone amp). The hub must be connected to a corresponding connector on the motherboard (they all have one): see the box in the adjacent image.
The screen:
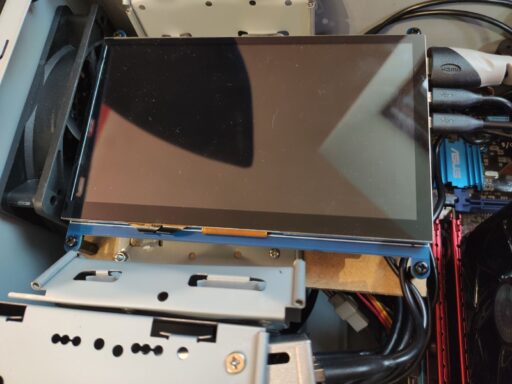
- The part that requires the most work will be adapting the case to be able to attach the screen inside. Computer towers usually have a removable rack to store the hard drives. Here we have modified this removable rack by cutting and folding it to attach a small wood plate to fix the screen. We then connect the screen to the hdmi port of the computer (either a graphic card or directly integrated to the motherboard as here).
Connecting the screen:
- An angled connector is used to connect the display to the hdmi socket on the outside of the case. There are original angled hdmi cables available if needed. You will probably have to make a hole in the case to pass the cable through.

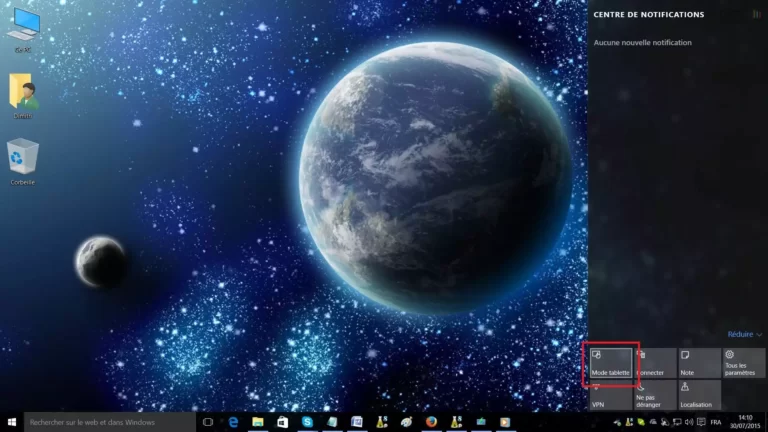
Windows configuration with tablet mode:
The computer is now assembled. It remains to configure windows to switch it to touch mode. This happens in the notification part of windows (bottom right). There is a button to switch to tablet mode. That’s all 🙂
Conclusion:
Now your PC is ready to go on tour. In my case, the hard disk is doubled with a second hard disk (called RAID 1) so that the computer still works even with the failure of one of the disks.
I hope you will enjoy this little unpretentious tutorial. Don’t hesitate to email me at [email protected] if you have any questions.